Although plenty of cleansing solutions are available on the market, it’s possible to clean cat ears without using any.
Content Overview |
|---|
| Cleaning your cat’s ears without a solution can be safe and effective. |
| Regular ear cleaning helps maintain your cat’s ear health and prevents discomfort. |
| Understanding your cat’s ear anatomy is crucial for effective cleaning. |
| Signs that your cat’s ears need cleaning include excessive scratching, head shaking, and discharge. |
| Follow a step-by-step guide to clean your cat’s ears without solution using lukewarm water and gentle techniques. |
Ear Cleaning for Cats – Why It is Important?
Cleaning your cat’s ears regularly is crucial for maintaining the hygiene of their ear. It helps remove excess earwax, dirt, and debris that might accumulate in the ear canal.
This accumulation can lead to discomfort, itching, and even ear infections. By cleaning your cat’s ears using the right techniques, you can prevent these issues while ensuring their ears are clean and healthy.
Proper ear cleaning is especially important for cats with long hair or those who spend time outdoors. These cats are more prone to earwax buildup and debris accumulation, which can interfere with their hearing and overall well-being.
Regular ear cleaning is a preventative measure that helps ensure your cat’s ears remain in optimal condition.
Benefits of Regular Ear Cleaning
- Cleaning your cat’s ears allows you to monitor their ear hygiene and health. While cleaning their ears, you can check for any signs of redness, swelling, or discharge, which may indicate an underlying ear issue. By catching these problems early, you can seek veterinary care and prevent further complications.
- Regular ear cleaning also provides an opportunity for bonding with your cat. By doing it calmly and gently, you can help your cat feel more relaxed and comfortable. This can strengthen the bond between you and your feline companion while ensuring their overall well-being.
Why Understanding Cat Ear Anatomy Matters
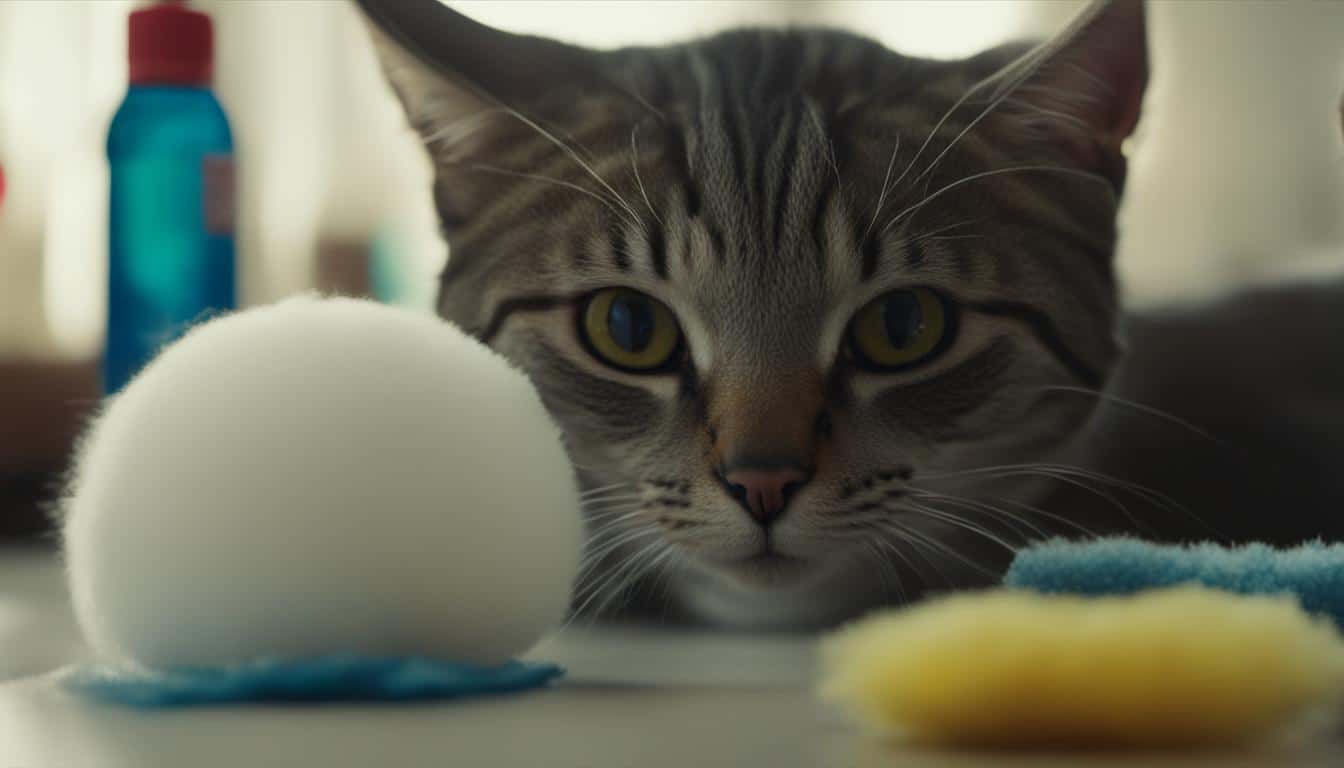
By familiarizing yourself with your cat’s ear anatomy, you can clean their ears more effectively and minimize the risk of causing any harm or discomfort.
Each part of the ear has its specific function, and being aware of these functions can help you better navigate and clean your cat’s ears.
For example, the pinna is responsible for capturing sound waves and directing them into the ear canal. It’s important to handle the pinna gently and avoid any rough movements that could hurt your cat. Additionally, the ear canal is delicate and sensitive, so using too much force or inserting objects deeply into it can lead to pain or injury.
| Basic Anatomy | Functional Descriptions |
| Pinna | – It is shaped to capture sound waves and funnel them through the ear canal to the eardrum.
– In cats, the pinnae are mobile and can move independently of each other, allowing them to rotate their ears a full 180 degrees. This mobility enables cats to detect the direction from which a sound originates and amplify it, aiding in their exceptional hearing ability. – The pinna is made of cartilage and covered by skin, fur, or hair, and its unique shape and mobility make it an essential part of a cat’s auditory system |
| Outer Ear | – Comprises the pinna, which captures sound waves and funnels them through the ear canal to the eardrum. – The ear canal acts as a pathway for sound to reach the middle ear. – The pinna is usually upright and mobile, helping the cat capture sound waves. |
| Middle Ear | – Contains the eardrum, which vibrates in response to sound. – Transmits sound vibrations from the eardrum to the inner ear through three tiny bones: malleus, incus, and stapes. – Includes the oval window and the eustachian tube, which connect the middle ear with the back of the nose, allowing air to enter the middle ear. |
| Outer Ear | – Consists of the cochlea, which converts sound vibrations into nerve impulses. – Houses the vestibular system, responsible for balance and agility. – Connected to the brain by the auditory nerve, transmitting auditory signals. |
How to Tell if Your Cat’s Ear is Healthy?
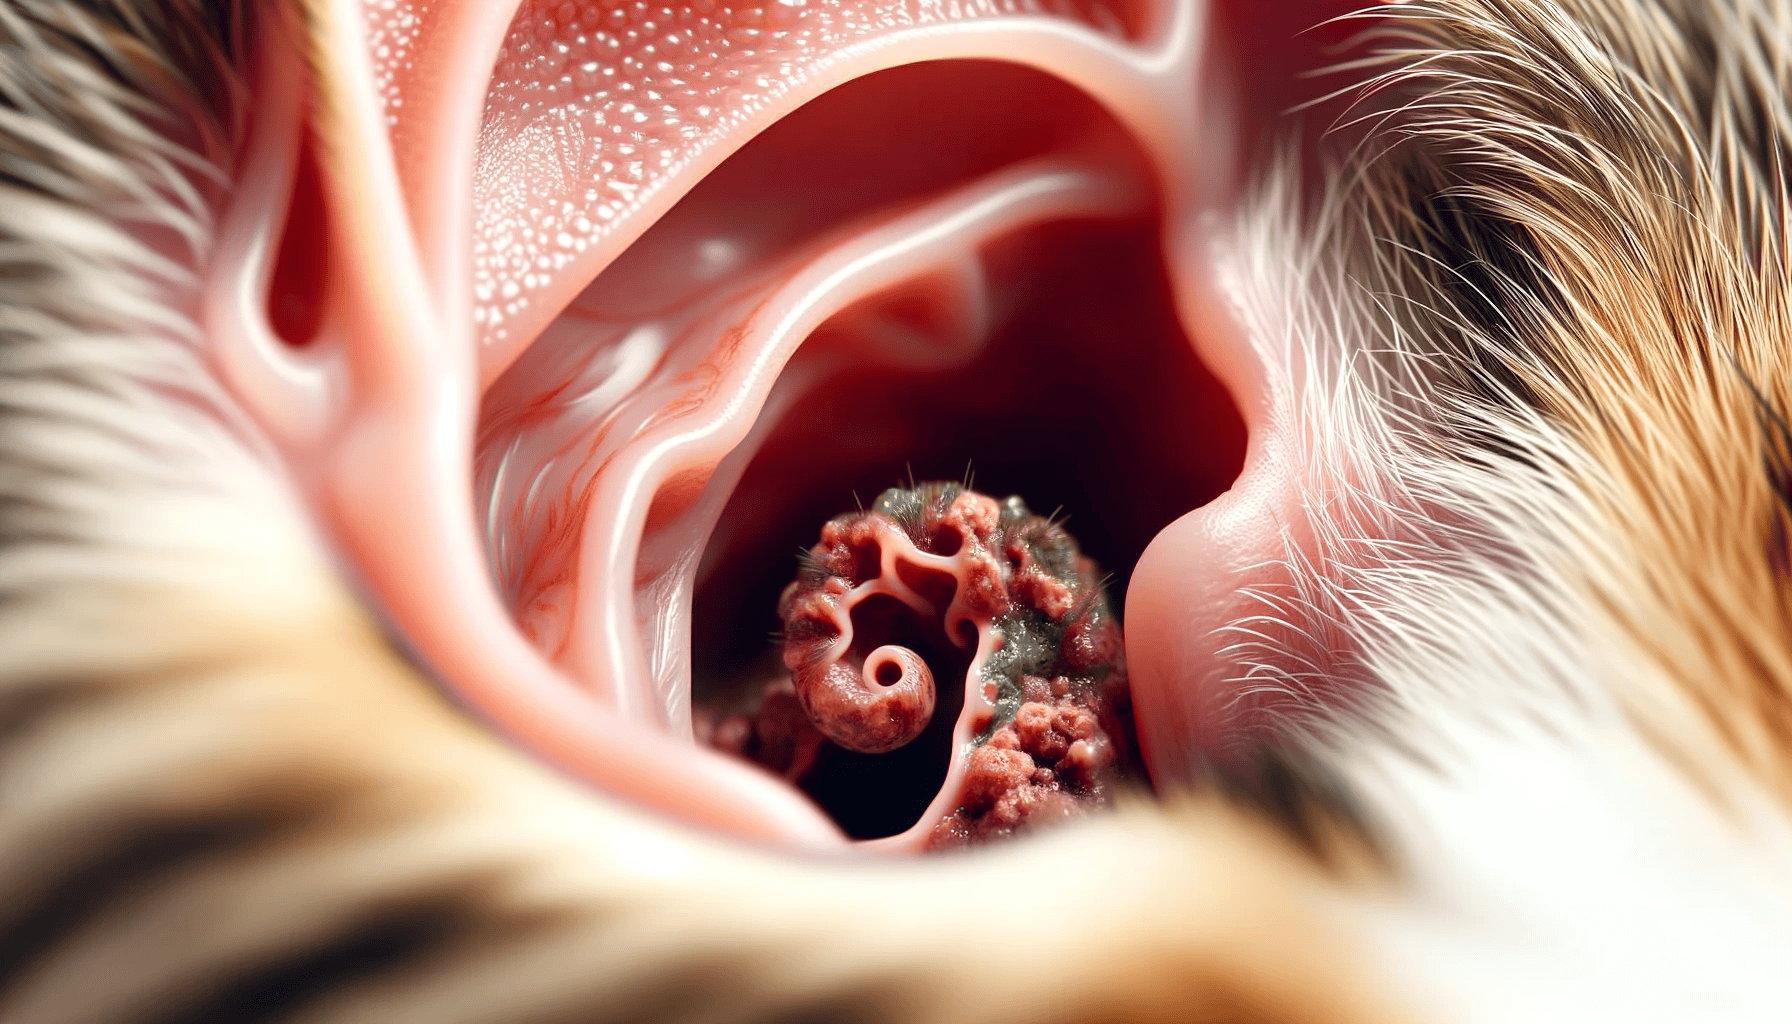
Simply put, a healthy cat’s ear has a clean and light pink appearance, with minimal visible debris. During a visual inspection (mentioned below), the outer ears should not show any signs of inflammation, injury from trauma, swelling, secretions, or excessive ear wax. Additionally, there should be no abnormal discharge, excessive ear wax, redness, or swelling in the ear canal.
To further determine if a cat’s ear is healthy, you can consider the following key points:
Visual Inspection: Check the outer part of the cat’s ears for any signs of infection or abnormalities. Look for redness, swelling, or an accumulation of dark-colored wax.
Cleanliness: Ensure that the ears are clean and free of wax, dirt, or any foul smell. Ear mites can leave a reddish-brown wax and cause irritation, leading to itching and scratching.
Behavioral Signs: Watch out for symptoms such as excessive scratching of the ears, head shaking, or any discomfort expressed by the cat. These could indicate a potential ear problem.
Veterinary Check-ups: Regular veterinary examinations are crucial for monitoring a cat’s ear health. Vets can conduct thorough inspections for any signs of infection or abnormalities, leading to early detection and treatment if necessary.
When & How Often You Should Clean Your Cat’s Ears
The frequency of cleaning a cat’s ears can vary based on the cat’s individual needs and should be done on an as-needed basis.
Here are some key points to consider:
Visual Inspection: Check your cat’s ears regularly for any signs of dirt, wax, debris, redness, swelling, or a foul smell. Cleaning should be done whenever you notice a buildup of dirt, wax, or other matter
Frequency: As a general guideline, cleaning your cat’s ears once every 2-3 months is recommended. However, this frequency can vary, and it’s essential to double-check with your vet to ensure you’re not overdoing or underdoing it
Healthy Ears: Healthy, clean ears are light pink with minimal visible debris. If the ears appear dirty further inside the ear canals or have an odor, consulting your veterinarian is recommended
Preventative Measures: Regular veterinary check-ups are crucial for monitoring your cat’s overall ear health. During these check-ups, the vet can examine your cat’s ears for any signs of infection or abnormalities, leading to early detection and treatment if necessary.
It’s important to avoid over-cleaning, as this can lead to irritation. Additionally, never insert anything into the cat’s ear canal, and if you notice any signs of potential ear problems, consult your vet promptly for further evaluation and care.
When to Seek Veterinary Care
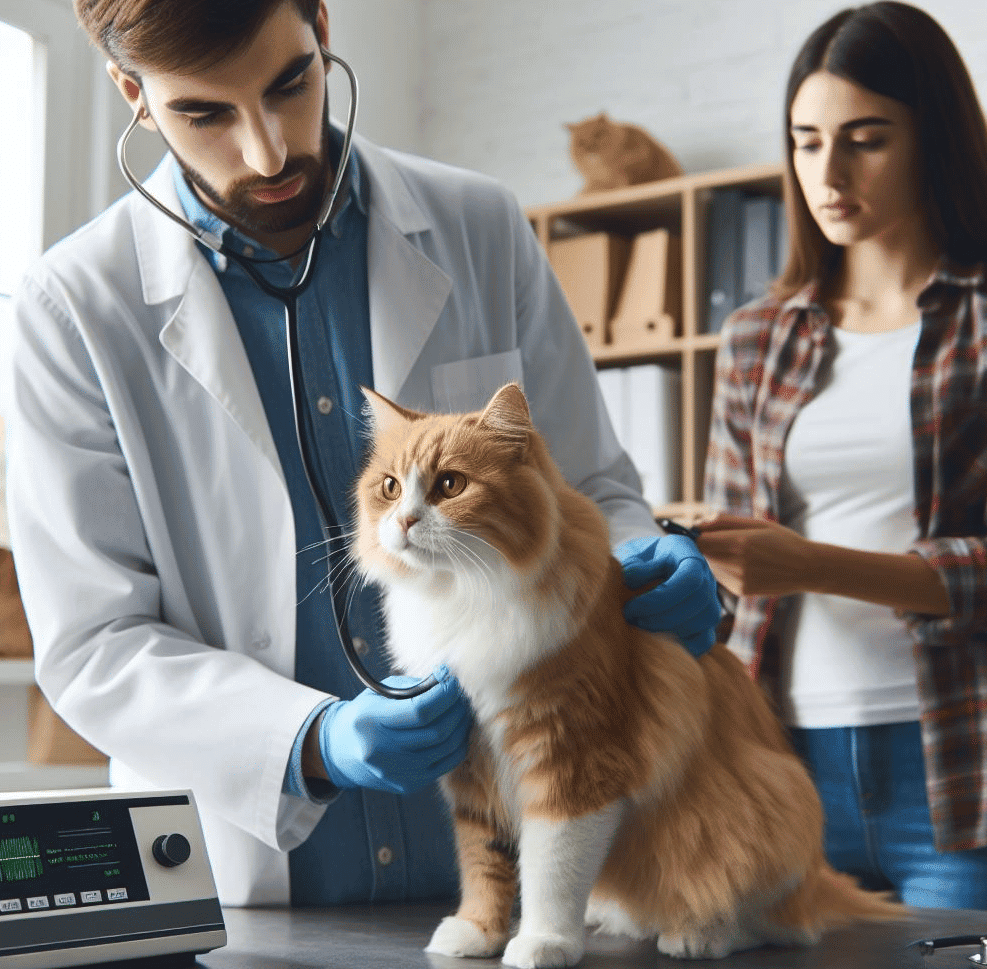
While regular ear cleaning at home is important for your cat’s ear health, there are times when you should seek veterinary care. If you notice any signs of an ear infection in your cat, it’s best to consult with a veterinarian for a proper diagnosis and treatment plan.
Signs that Your Cat’s Ears Are Infected
If you are unsure whether your cat’s ears are infected, there are several signs to look out for. It’s important to consult a veterinarian if you notice any of these signs, as ear infections can cause significant discomfort and may lead to more serious complications if left untreated.
Pay attention to the following indicators which could be potential signs of infection.
| Signs of Ear Infections | Possible Causes |
|---|---|
| Excessive scratching around the ears | This could be due to discomfort caused by dirt or debris. |
| Head shaking or Tilting | Irritated or clogged ears may lead to vigorous head shaking. |
| Presence of dark or brown ear discharge | Discharge can indicate an ear infection or excess buildup of wax and dirt. |
| Foul smell coming from the ears | Unpleasant odors can signal an infection or excessive wax and debris. |
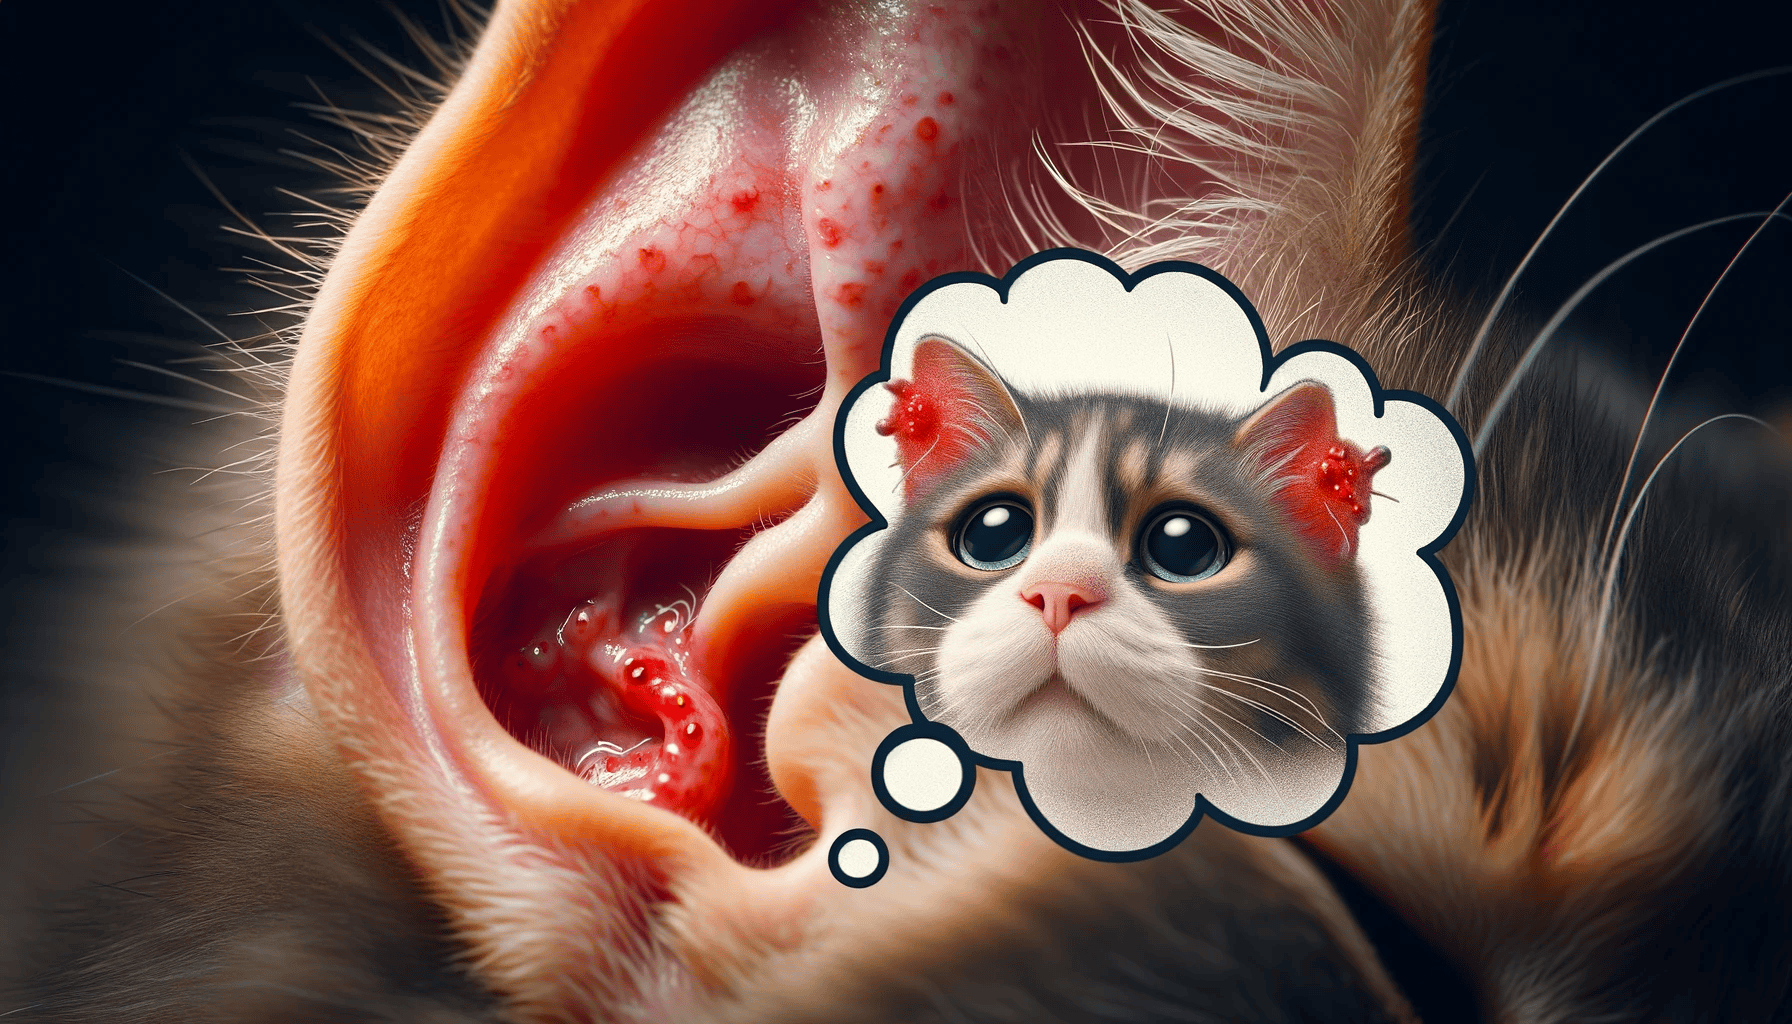
| Redness or Swelling | The inside of the ear appears red or swollen, indicating irritation or infection. |
| Scabs or Crusts in the Ear | Presence of scabs or crusts inside the ear canal, often resulting from scratching. |
| Loss of Balance or Coordination | If the infection affects the inner ear, it may lead to balance issues or unusual walking patterns. |
| Hearing Loss | In severe cases, an ear infection can lead to a temporary or permanent reduction in hearing. |
If you observe any of these symptoms, it’s important to seek professional help as ear infections can be painful and may require medication to clear up.
Your veterinarian will conduct a thorough examination of your cat’s ears, possibly taking a sample for further analysis, and prescribe appropriate medication.
If your cat’s ear cleaning attempts at home do not improve the condition or if you are uncertain about proper ear cleaning techniques, be sure to consult a veterinarian clinic near you. These professionals can guide how to clean your cat’s ears effectively and safely, ensuring that you are using the appropriate methods and products.
Remember, your veterinarian is the best source of advice and support when it comes to your cat’s ear health. They have the expertise to diagnose and treat ear infections and can provide personalized recommendations for your cat’s specific needs.
Home Remedies for Cat Ear Cleaning
While there are several home remedies available for cleaning your cat’s ears, it is crucial to approach them with care.
Some common home remedies include:
- Warm water: Gently adding a few drops of lukewarm water into your cat’s ears can help to soften and loosen debris.
- Cotton balls or gauze: Using these soft materials, you can carefully wipe away any loosened wax or debris from the ear.
- Natural oils: Some pet owners use natural oils like olive oil or coconut oil to help soften and remove earwax, but it is important to consult your veterinarian before using any oils.
Remember, home remedies should only be used if recommended by your veterinarian and if you are confident in your ability to perform the cleaning safely and effectively.
If you have any doubts or concerns, it is always best to seek veterinary advice for your cat’s ears.
List of Things to Prepare When Cleaning Your Cat’s Ear
Before cleaning a cat’s ears, it’s important to prepare the necessary supplies and create a comfortable environment. Here’s a list of things to be prepped before cleaning a cat’s ear:
- Good-quality feline ear cleaner solution
- Cotton balls or gauze
- Treats to reward calm behavior throughout the ear cleaning
- Optional: A thick towel or small blanket to wrap up your cat, if necessary, to help minimize discomfort
- Dry washcloth to gently clean your cat’s face when finished
It’s essential to ensure that the cat is relaxed and comfortable before starting the cleaning process. Additionally, it’s important to avoid using cotton swabs, as they can easily slip into the cat’s ear canal and cause damage.
If your cat’s ears are red, inflamed, or painful, it’s recommended to consult with your veterinarian before cleaning, as this could indicate an underlying ear infection or issue
Be gentle when cleaning your cat’s ears, and use the appropriate tools.
Step-by-Step Guide to Cleaning Your Cat’s Ears Without Solution
The table below provides a step-by-step guide on how to clean your cat’s ears without using any commercial solution. It includes preparation steps, the cleaning process, and aftercare. Remember, it’s always best to consult with a veterinarian before attempting home treatments.
| Steps | Instructions |
|---|---|
| Step 1 | Gather Supplies: You’ll need lukewarm water, cotton balls or gauze, and a towel. Avoid using cotton swabs as they can damage the ear. |
| Step 2 | Calm Your Cat: Ensure your cat is relaxed. You might need to wrap them in a towel to prevent them from moving too much. |
| Step 3 | Prepare the Ear: Gently fold back the ear flap and inspect the ear for any signs of infection, like redness, swelling, or bad odor. |
| Step 4 | Moisten the Cotton Ball: Dip the cotton ball or gauze in lukewarm water and squeeze out excess water. The cotton should be damp, not dripping. |
| Step 5 | Wipe the Ear: Gently wipe the outer part of the ear and the area around the ear canal. Do not insert anything into the ear canal itself. |
| Step 6 | Clean the Creases: Use a new cotton ball to clean the creases in the ear flap and around the outer ear. |
| Step 7 | Dry the Ear: After cleaning, use a dry cotton ball or gauze to gently dry the ear. |
| Step 8 | Reward Your Cat: Give your cat a treat for cooperating. Positive reinforcement helps make future cleanings easier. |
Always be gentle and watch for any signs of pain or discomfort in your cat. If the ears are very dirty or if you suspect an infection, it’s best to seek veterinary care rather than attempting to clean the ears at home.
Remember to be patient and gentle while cleaning your cat’s ears. If your cat shows signs of discomfort or becomes agitated, take a break and try again later. It’s important to prioritize your cat’s comfort and safety throughout the cleaning process.
Regular ear cleaning without using any solution can help prevent earwax buildup in cats and promote their overall ear health.
10 Mistakes to Avoid When Cleaning a Cat’s Ears
When cleaning a cat’s ears, people often make several common mistakes, which can lead to discomfort or even injury for the cat. Here are some of these mistakes:
- Using Cotton Swabs in the Ear Canal: Many people mistakenly use cotton swabs (like Q-tips) in the ear canal, which can push wax and debris further in and potentially damage the eardrum.
- Over-Cleaning: Frequent cleaning can irritate the ear canal, leading to more problems. Ears should only be cleaned when necessary and not as a routine practice.
- Inserting Cleaning Tools Too Deeply: Inserting any tool too deeply into the ear canal can cause pain and injury. It’s important to clean only the parts of the ear you can easily see.
- Using Inappropriate Cleaning Solutions: Using harsh chemicals like alcohol or hydrogen peroxide can irritate the sensitive skin inside the ears. Always use a solution that is safe and recommended for cats.
- Ignoring Signs of Infection or Irritation: Sometimes, signs of ear problems are mistaken for dirt or wax. If there are symptoms like redness, swelling, discharge, or bad odor, these could indicate an infection, and a veterinarian should be consulted.
- Neglecting to Reward or Comfort the Cat: Not providing positive reinforcement can make the cat fearful and resistant to future ear cleanings. Treats and gentle comforting during and after the process can help.
- Cleaning When the Cat is Agitated: Attempting to clean the ears of a stressed or agitated cat can result in a negative experience or even injury to both the cat and the owner.
- Lack of Regular Ear Checks: Neglecting regular ear checks can lead to unnoticed issues developing into more serious problems.
- Using Too Much Force: Being too forceful or rough can cause pain and may damage the ear.
- Ignoring the Need for Professional Help: Some ear issues are complex and require professional veterinary care. Attempting to handle these issues at home can worsen the condition.
By avoiding these mistakes and following best practices, you can ensure that the ear-cleaning process is safe, effective, and comfortable for your feline companion.
Why can it be difficult to clean your cat’s ears?
Cleaning a cat’s ears can be a challenging task for several reasons. Here are a few key points that contribute to the difficulty:
- Sensitive Nature of Cat’s Ears: Cats have very sensitive ears, and they can be quite protective about them. This sensitivity can make them uncomfortable or anxious during cleaning.
- Natural Aversion to Handling: Many cats dislike being restrained or having their ears touched. They may resist or become stressed, making the process difficult.
- Small and Delicate Ear Structure: The structure of a cat’s ear is small and intricate, requiring careful handling to avoid injury.
- Risk of Injury: Improper technique or tools (like cotton swabs) can easily injure the delicate inner structures of the ear, including the eardrum.
- Cats’ Quick Reflexes: Cats are quick and agile. They can move suddenly or unexpectedly, increasing the risk of accidental injury during cleaning.
- Difficulty in Identifying Problems: Without proper knowledge or experience, it can be hard to distinguish between normal ear wax and signs of ear problems like infections, which require professional veterinary care.
- Stress and Anxiety for the Cat: The process can be stressful for cats, leading them to associate ear cleaning with negative experiences, making future attempts even more challenging.
- Owner’s Inexperience: Many cat owners lack experience in ear cleaning, which can lead to mistakes like using inappropriate cleaning solutions or techniques.
Understanding these challenges is crucial for safely and effectively cleaning a cat’s ears, and when in doubt, seeking professional advice from a veterinarian is always the best course of action.
Final Thoughts
Many commercial ear-cleaning solutions contain chemicals that can potentially irritate a cat’s sensitive ear canal. Using gentle, natural methods like warm water minimizes this risk.
Just like humans, cats can have allergic reactions to certain ingredients in commercial solutions. By avoiding these products, you reduce the risk of triggering an allergic response.
Some cats may find the sensation or smell of commercial solutions unpleasant, leading to stress and resistance. A simpler, more natural method can be less invasive and more comfortable for them.
When you opt for cleaning without commercial solutions, you have complete control over what goes into your cat’s ears. This is especially important for cats with sensitive skin or specific health concerns.
Remember to always consult with a veterinarian if you have any concerns or questions about cleaning your cat’s ears. They can provide guidance, prescribe appropriate medication, and offer expert advice on how to clean your cat’s ears effectively to maintain optimal ear health.
Frequently Asked Questions
How often should I clean my cat’s ears without using a solution?
Clean only when necessary, typically once a month, unless advised otherwise by a vet.
Is it safe to use water in my cat’s ears?
Yes, use only a damp cloth or cotton ball. Do not pour water directly into the ear canal.
Can I use olive oil or other home remedies instead of commercial solutions?
Consult with a veterinarian before using any home remedies, as some may not be safe.
What should I do if my cat resists having its ears cleaned?
Be patient and gentle, and try cleaning when your cat is calm or sleepy. If resistance continues, consult a vet.
How do I safely clean my cat’s ears?
Gently wipe the outer ear with a damp cloth or cotton ball. Do not insert anything into the ear canal.
Can regular ear cleaning prevent ear infections?
Regular cleaning can help, but it’s not a guaranteed way to prevent infections. Regular check-ups are essential.
What if I notice a bad smell or discharge after cleaning?
This could indicate an infection. Stop cleaning and consult a veterinarian immediately.
Can I use over-the-counter ear-cleaning solutions for my cat’s ear infections?
It’s important to consult with your veterinarian before using any ear-cleaning solutions, especially if your cat has an ear infection. Improper use of over-the-counter solutions can further irritate the ears or cause allergic reactions. Your veterinarian will recommend the most appropriate treatment for your cat’s specific condition.
Should I clean my cat’s ears at home regularly, even if they don’t have an ear infection?
Regular ear cleaning as part of your cat’s grooming routine is important for maintaining ear health. However, it’s essential to use the proper techniques and products. Your veterinarian can guide you on how often to clean your cat’s ears based on their individual needs.

In her previous life, Lisa traveled extensively, both for work and leisure. After the pandemic struck, Lisa locked up her luggage and adopted a cat ever since.
Lisa is now an avid cat lover, she devotes most of her free time serving as butler to her adorable feline at home. When she is not with her cat, she can be seen using her phone sourcing for the latest cat supplies online.


